AutoIdle is an add-on that helps you save money by automatically putting your non-critical apps to sleep after a period of inactivity.
How Does It Work?
Hosting your app costs money 💸.
But staging and review environments are running even while they are only needed when they are actively in use. It is better to put them on pause when they aren't needed.
So how AutoIdle add-on works?
- When an app is inactive for 30 minutes (configurable), AutoIdle puts it to sleep.
- If the app receives an HTTP request, AutoIdle reactivates it with the same dyno count and active processes present. It typically takes 5-10 seconds for AutoIdle to restart an app, but in Private Spaces and Heroku Fir, this can take between 30 and 90 seconds.
- And you’re only paying for the time when you’re actively using the app.
⚠️
Use AutoIdle only with non-critical apps, such as staging and testing apps. Do not provide it for your production apps.
You can find how much money you can save 👉 here.
Installation
The Autoidle is designed to work on two environment: Staging-like applications and Review instanses of application.
Staging applications
It is very simple to attach an AutoIdle add-on to an existing Heroku application:
$ cd staging_app_directory
$ heroku login
$ heroku addons:create autoidle
-----> Creating autoidle on your application... done.
And that's it. When the plugin is active, the app turns on the sleep mode 💤 after half an hour of inactivity.
Custom Idling Time
You can customize the inactivity timeout (default is 30 minutes) using the idling-time option. The value is in minutes:
$ heroku addons:create autoidle -- --idling-time=15
-----> Creating autoidle on your application... done.
This sets the timeout to 15 minutes instead of the default 30.
Disable Auto-Stop
You can provision AutoIdle with auto-stop disabled using the enabled option:
$ heroku addons:create autoidle -- --enabled=false
-----> Creating autoidle on your application... done.
This is useful if you want to set up AutoIdle but enable it later via the dashboard.
⚠️
Use this only with non-production application.
📢
When you try to call the app that is on sleep mode 💤 now, you will receive an error message on the first HTTP request. To avoid this, change your app’s domain to yourapp.autoidleapp.com instead of yourapp.herokuapp.com. You also have the option to add a custom domain in your AutoIdle dashboard.
⚠️
For Private Spaces and Heroku Fir apps it is mandatory to use yourapp.autoidleapp.com instead of yourapp.herokuapp.com or a custom domain with AutoIdle to ensure proper functionality.
Review Applications
Review apps are the instances of applications whose main sense is to make sure that changes from pull requests work correctly and don't break the application.
You might use review apps as part of your code review process.
To create the review instance of the application, do the following:
1. Create a Heroku pipeline. In your Heroku dashboard, click the New button and select Create new pipeline.

Give it a name, type your GitHub repo and click Search:

click Connect and then click Create pipeline.
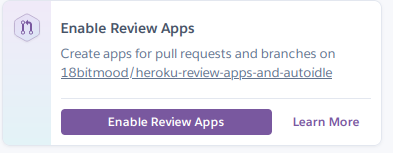
2. Enable Review Apps. Simply click on Enable Review Apps:
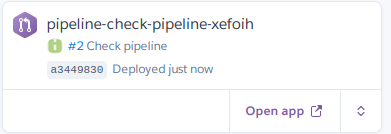
3. Create a PR and see the running application. Create a Pull Request on your GitHub repo, then navigate to your Heroku's pipeline dashboard, and see the resulting review app once it’s successfully deployed.
You can open the review app from the Heroku pipeline page using the Open app button.
4. Merge PR. After ensuring that the app looks good, you can then merge the pull request. Merging the code causes the review app to be destroyed.
Important! To enable auto stop only in the review application, just add those lines in the app.json file in the root directory of your application:
  "environments": {
    "review": {
        "addons": ["autoidle:hobby"]
    }
}
Custom Idling Time for Review Apps
You can customize the inactivity timeout using the idling-time option in your app.json. The value is in minutes:
  "environments": {
    "review": {
        "addons": [{
            "plan": "autoidle:hobby",
            "options": {
                "idling-time": "15"
            }
        }]
    }
}
This sets the timeout to 15 minutes instead of the default 30.
Auto-Generate Custom Domains for Review Apps
You can automatically create custom domains for your review apps using the app-name-domain option. This creates a domain in the format {app-name}.yourdomain.com:
  "environments": {
    "review": {
        "addons": [{
            "plan": "autoidle:hobby",
            "options": {
                "app-name-domain": "staging.example.com"
            }
        }]
    }
}
If your review app is named myapp-pr-123, AutoIdle will automatically create the custom domain myapp-pr-123.staging.example.com. Make sure to set up a wildcard DNS record (*.staging.example.com) pointing to ssl.autoidleapp.com.
Disable Auto-Stop for Review Apps
You can provision AutoIdle with auto-stop disabled:
  "environments": {
    "review": {
        "addons": [{
            "plan": "autoidle:hobby",
            "options": {
                "enabled": "false"
            }
        }]
    }
}
You also may use this guide to setup a review instance of application.
ℹ️
You may see the status of add-on on https://dashboard.heroku.com/apps/your-app.
You can monitor AutoIdle activity within the Heroku log-stream by:
$ heroku logs -t | grep 'autoidle@addons.heroku.com'Plans %26 Pricing
AutoIdle identifies active dynos and pauses them. When a request is received, AutoIdle resumes any previously paused dynos.
- Basic, $4/month. This is perfect for multiple dynos on Heroku's basic plan.
- Standard, $16/month. This is perfect for multiple dynos on Heroku's standard plan.
- Performance, $100/month. This is perfect for multiple dynos on Heroku's performance plan.
- Private Spaces, $150/month. This is perfect for multiple dynos on Heroku Private Spaces.
Web only plans
AutoIdle pauses only the web dyno. When a request is received, AutoIdle resumes the web dyno.
- Basic Web, $2/month. This is perfect for running on Heroku's basic plan with only the web dyno and no additional dynos.
- Standard Web, $8/month. This is perfect for running on Heroku's standard plan with only the web dyno and no additional dynos.
- Performance Web, $50/month. This is perfect for running on Heroku's performance plan with only the web dyno and no additional dynos.
- Private Spaces Web, $75/month. This is perfect for running on Heroku Private Spaces with only the web dyno and no additional dynos.
To change the plan, click Configure add-ons on your Heroku dashboard:

Then click the Modify plan button:
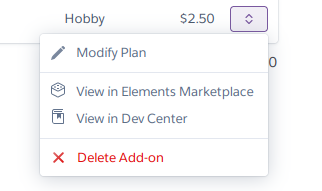
And apply the plan that you need.
ℹ️
A list of all plans available can be found here.
Dashboard
The AutoIdle dashboard provides an overview of your monitored apps and the amount of money you've saved.
You can access the dashboard via the CLI:
$ heroku addons:open autoidle
Opening autoidle for sharp-mountain-4005
or by visiting the Heroku Dashboard and selecting the application in question. Select AutoIdle from the Add-ons menu.
You will see the dashboard:
It provides the data about how long the application was in sleep mode, and how much money you saved. So you can see your benefit of using the add-on very clear 💰.
Metrics

This section shows you:
- How many apps are in auto-stop now;
- How long it was stopped in percentage. It shows your data of how much time you use the application;
- Total money saved - how much money the add-on saved to you. This data is available when you used the add-on for some days;
- Estimated money saving - if the trend continues, this number shows how much you save.
Apps Running

This section shows you the application that currently running.
Apps Stoped
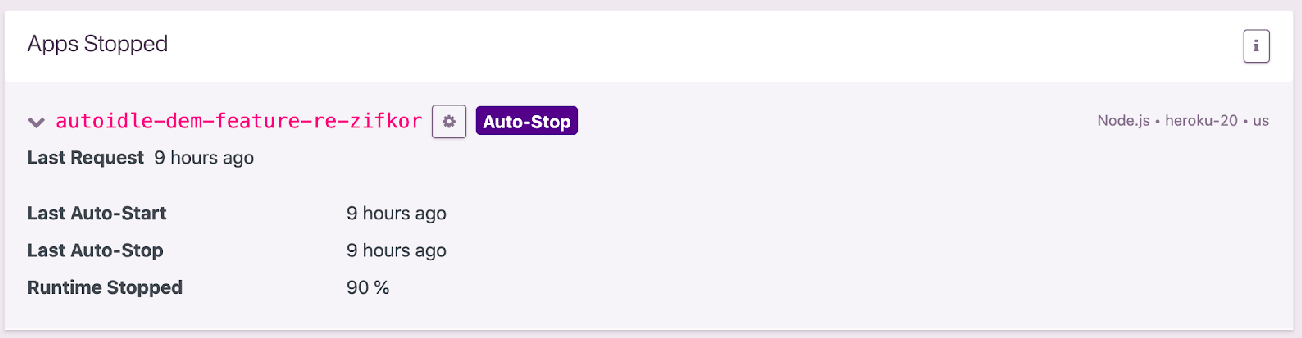
This section shows you the application that currently being stopped.
Settings
If the app is on sleep mode 💤 currently, and you're making a request to your Heroku instance, you will receive an error message firstly and need to send another request after 5-10 seconds.
You have two options to avoid this:
To use these options, proceed to the AutoIdle dashboard. Click AutoIdle on Heroku's dashboard:
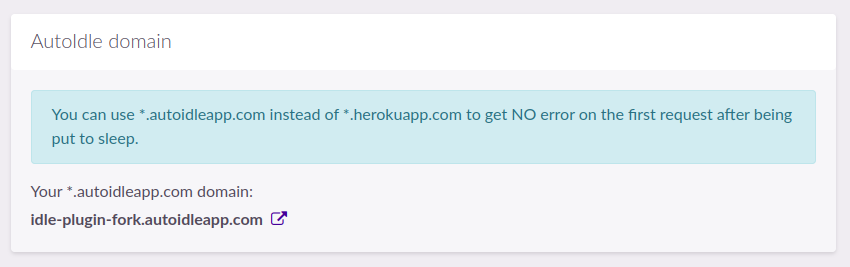
AutoIdle Domain
You can use *.autoidleapp.com instead of *.herokuapp.com to get NO error on the first request after being put to sleep. Just visit your application page on your Heroku dashboard, and click a link to the AutoIdle dashboard on the add-ons section:

At the AutoIdle dashboard you will see the URL:
Custom Domains
Alternatively, you may use the custom domains option.
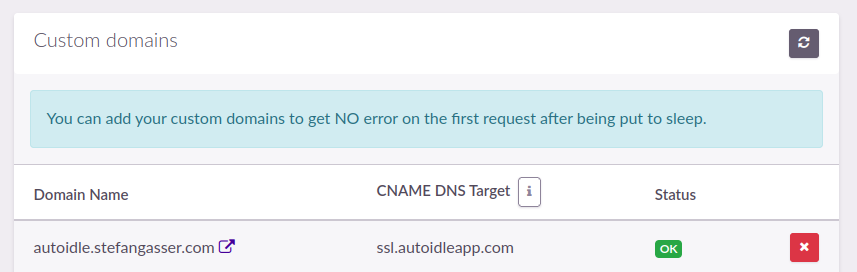
You need to add your domain in the AutoIdle dashboard:
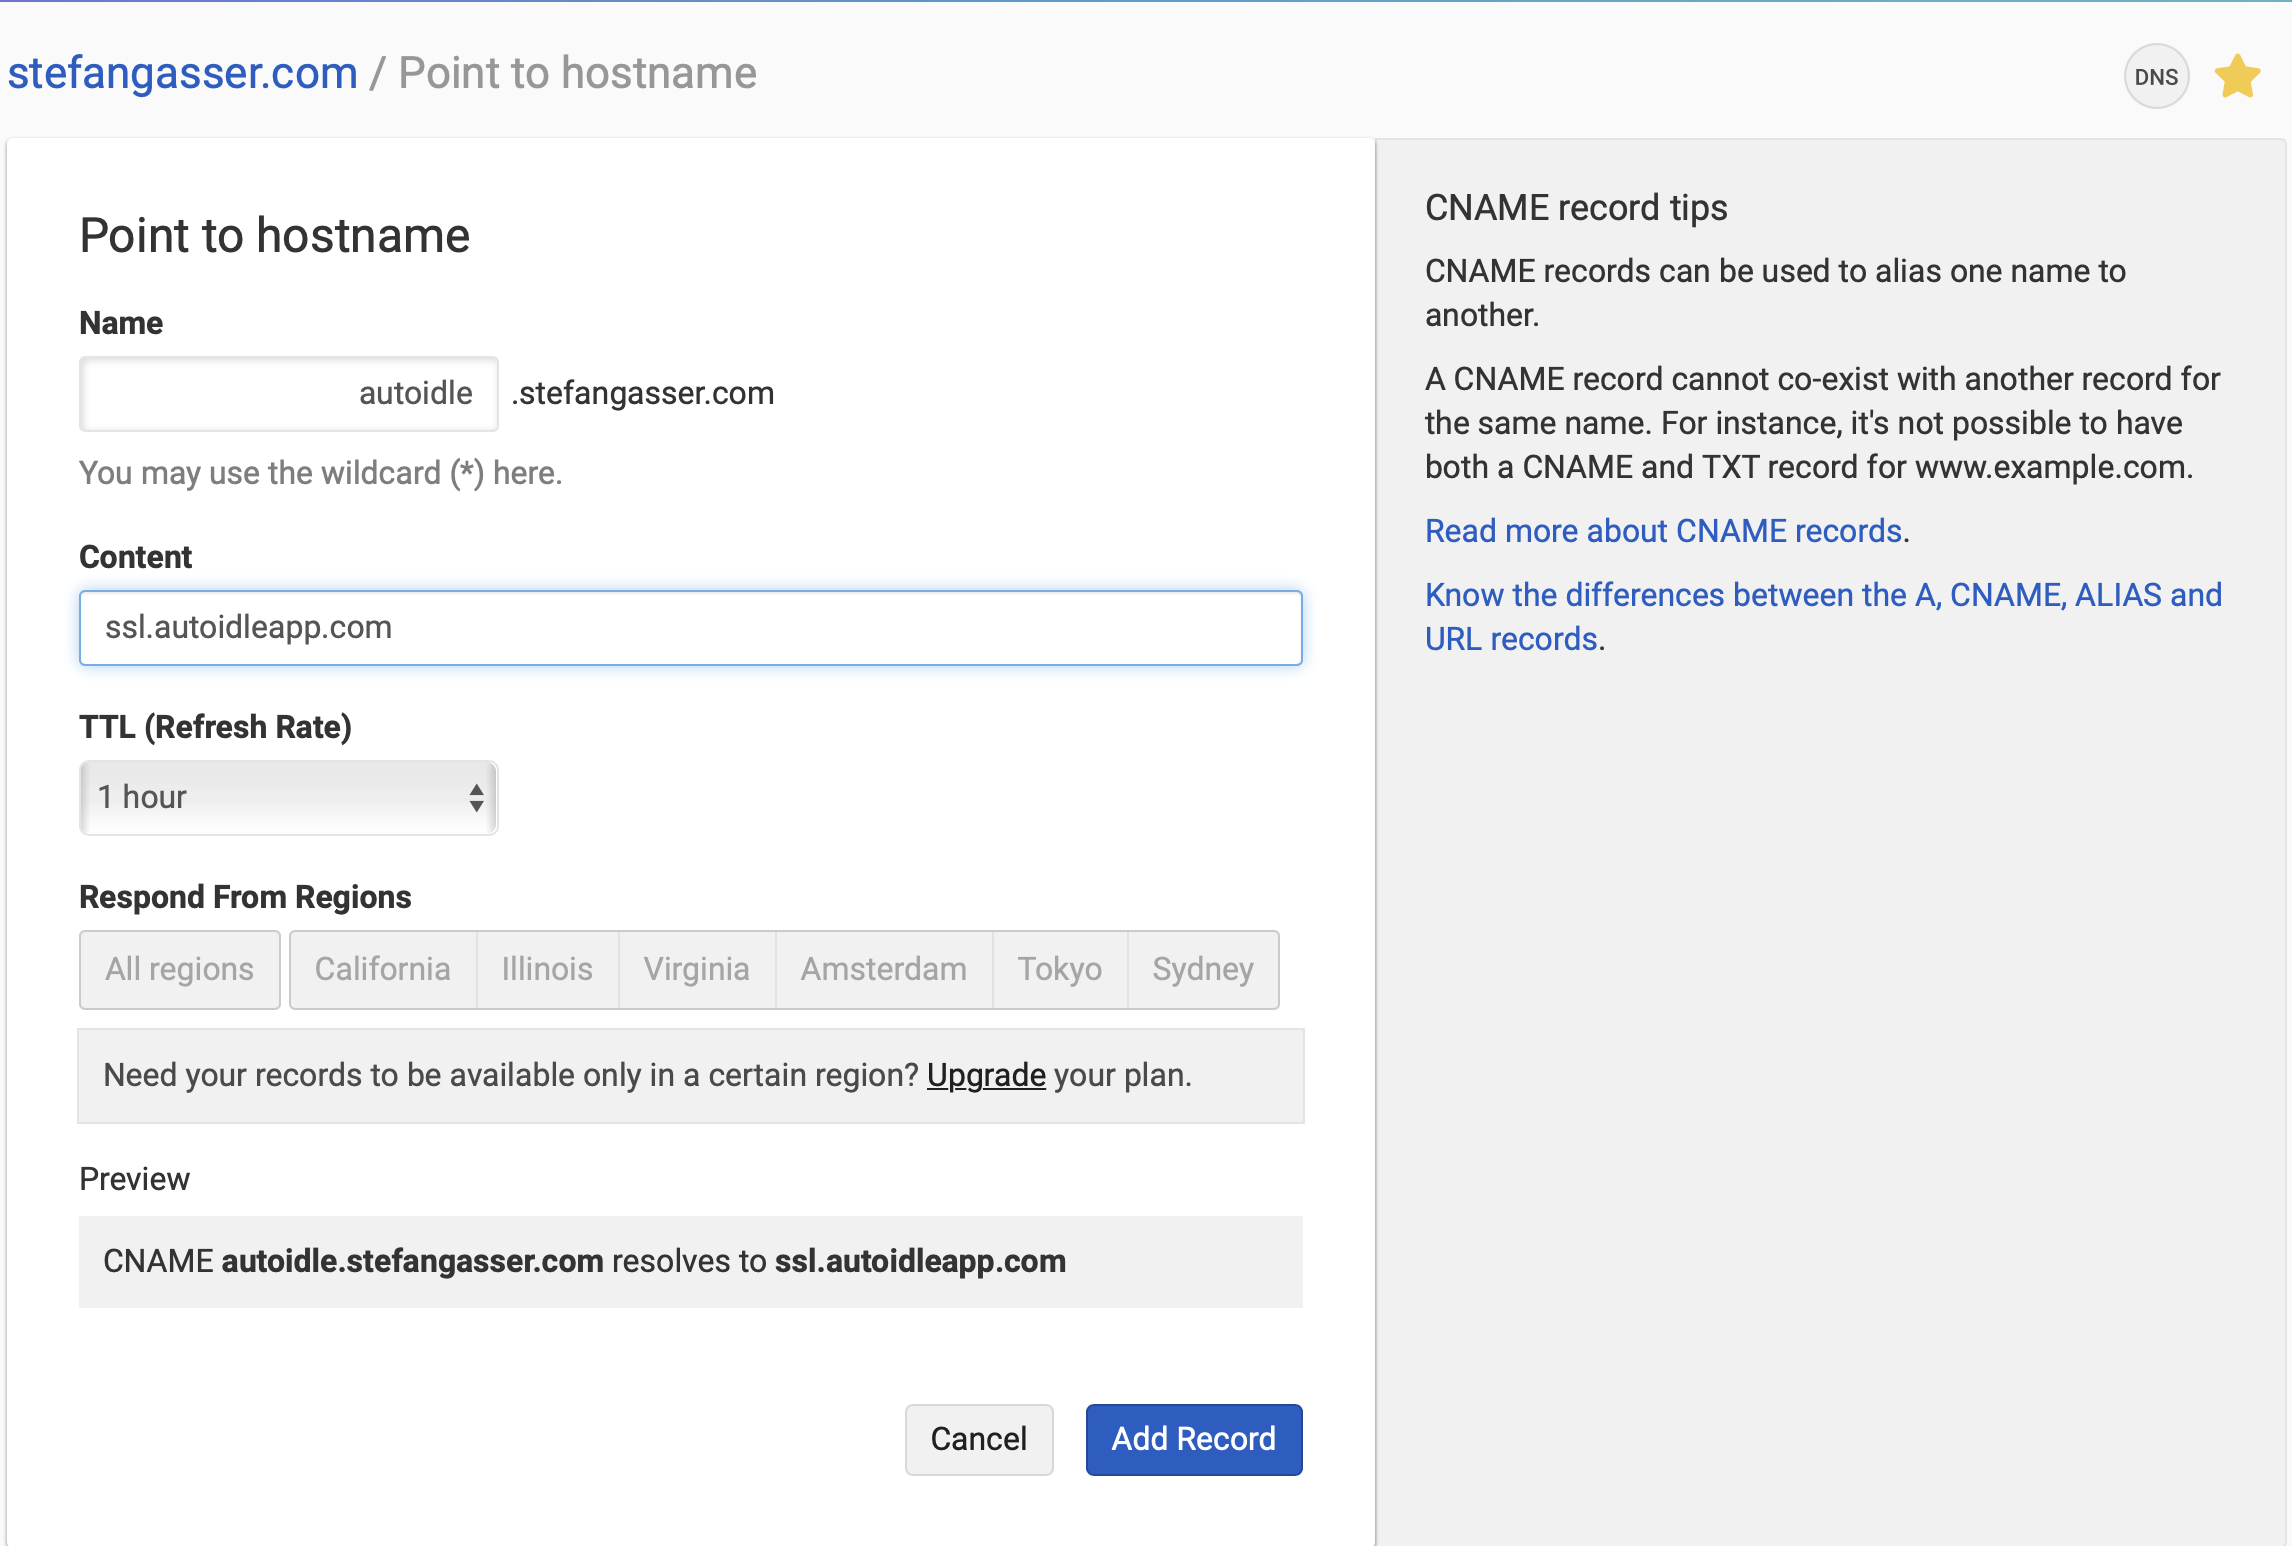
Then add ssl.autoidleapp.com as CNAME on your DNS provider.
So your-custom.domain should resolves to ssl.autoidleapp.com.
Here you can see the example of how to setup this:
ℹ️
If you see the status as Not Configured, then wait a few minutes and the status of a domain will be changed.
Uninstall
You can remove AutoIdle via the CLI:
⚠️
This will destroy all associated data and cannot be undone!
$ heroku addons:destroy autoidle
-----> Destroying autoidle-asymmetrical-41771 on ⬢ your-application... done
Support
All AutoIdle support and runtime issues should be submitted via one of the Heroku Support channels.
Any non-support related issues or product feedback is welcome at stefan@autoidle.com.