

From simple to complex applications, Heroku stands out as a deployment choice for many developers. This is because with Heroku, getting an application up and running is a very simple procedure that abstracts the underlying infrastructure and its scaling needs. However, with more applications running on Heroku is a growing bill even when no traffic is being served. AutoIdle is a Heroku add-on that helps cut your Heroku bill by automatically putting your staging and review apps to sleep when you don't need them. In this article, we shall see how we can install AutoIdle on a Heroku app and review apps in a pipeline and observe how much we save.
How does AutoIdle work?
AutoIdle typically puts your apps to sleep after 30mins of inactivity and gets them up and running in under 10seconds of a new request. This way, you are not charged for the time the your apps are up but idle. With that stated…
…let's get our hands dirty.
Let's create an app called autoidle-saving in a Heroku pipeline. Starting from the start branch of this repository, we shall incrementally build our application to the state in the main branch; so fork the repository and go here to create a Heroku pipeline. You will be presented with the screen below.
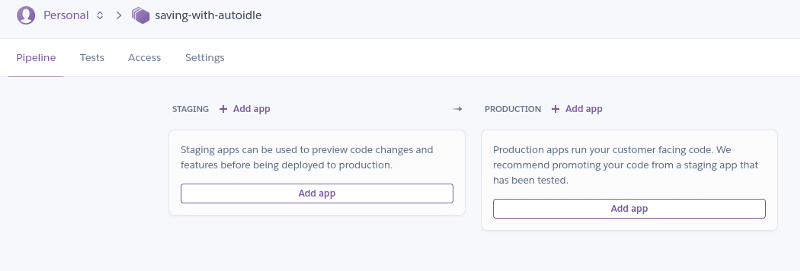
Now select the Settings tab and under the Connect to GitHub option, search for the forked repository and connect it to the pipeline.
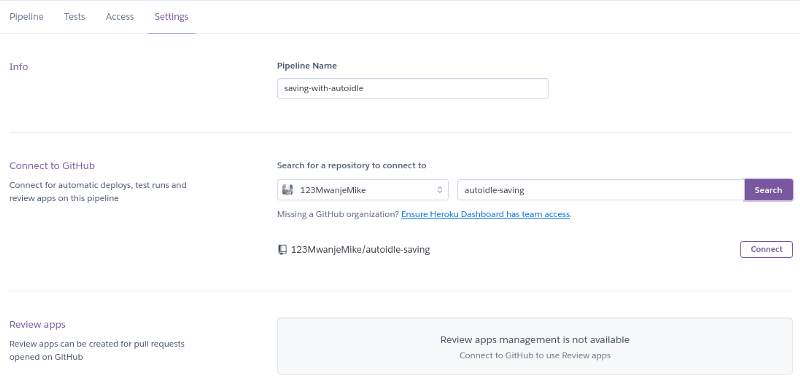
After connecting the repository, the Review apps option should now be available. Click Enable to have review apps for Pull Requests. Note: Check the Wait for CI to pass option if you want HerokuCI to run your tests before deploying to the review app. There is a detailed article on Heroku CI and how to use it here that you can check out if you want to learn more about HerokuCI specifically.
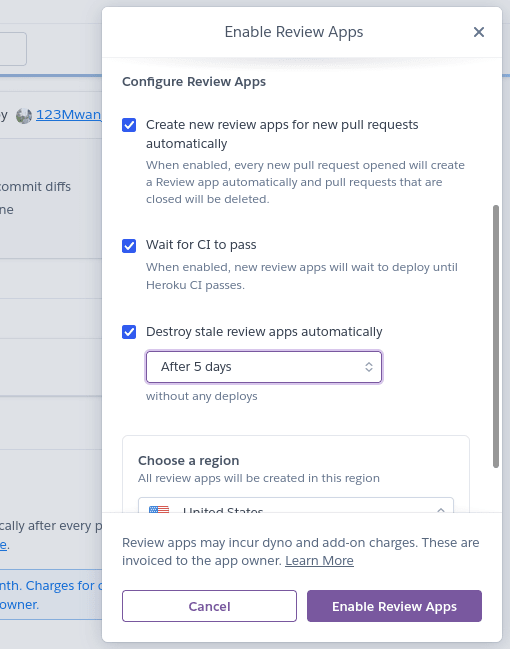
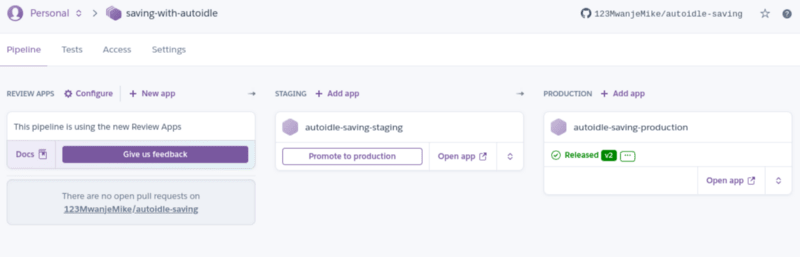
Return to the pipeline tab now and for each of staging and production sections, click Add app, and click Create new app… to create a staging and production app respectively.
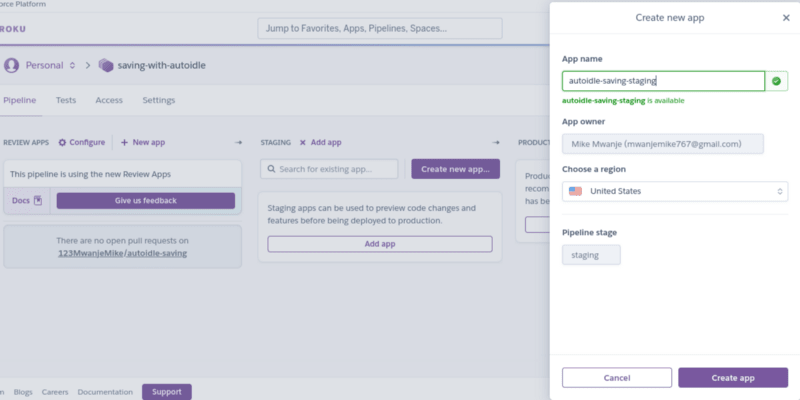
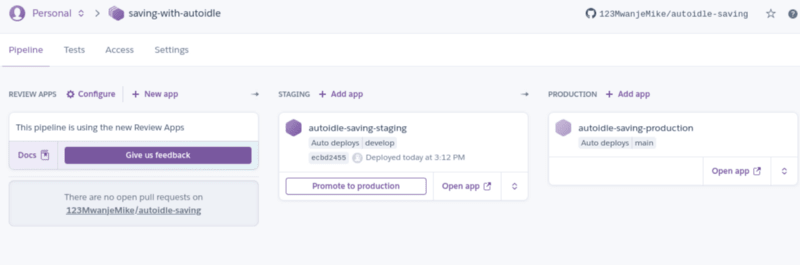
Your pipeline now looks like so

Let us make one additional tweak on our two apps. We want the staging app to automatically deploy code in the develop branch and the production app that in main branch on every push to the respective branches of the connected GitHub repository. So, starting with the staging app, click the Configure automatic deploys… option.

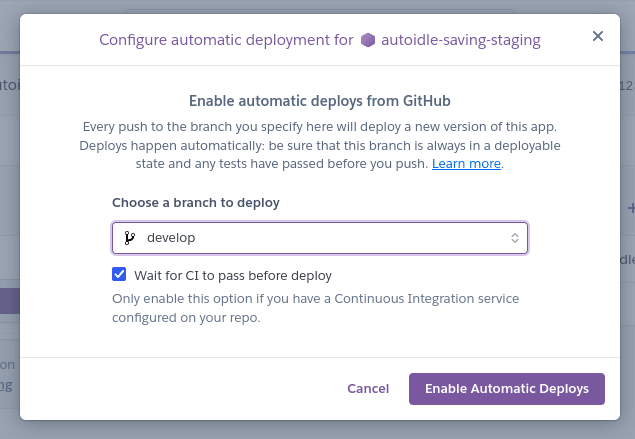
You will be presented with a screen such as below. Select the develop branch and click Enable Automatic Deploys

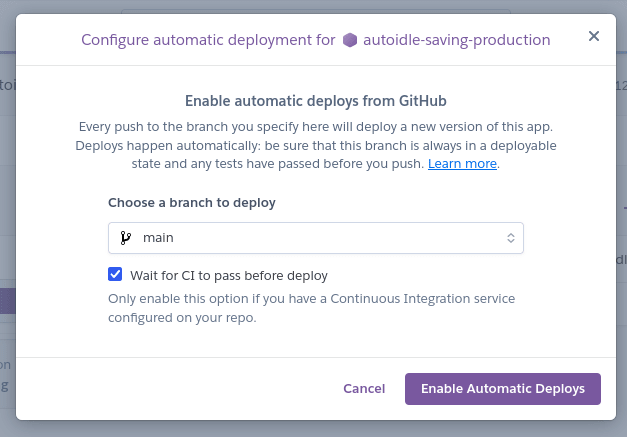
The same goes for the production application, only that for it we shall deploy the main branch.
The pipeline is now ready and we can make an addition to our app so as to set everything in motion. Run the commands below to clone the forked repository and install the dependencies of the application.
$ git clone https://github.com/autoidle/autoidle-saving.git
$ cd autoidle-saving
$ npm install
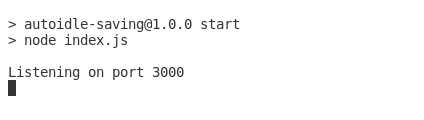
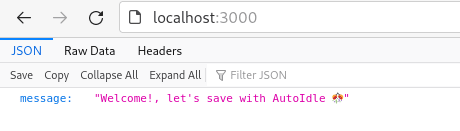
Now to confirm that all is okay, run npm start in the terminal and you should have the output below
Now let us deploy to our staging app. So back to the staging section of the pipeline, and under the app options, click Deploy a branch…
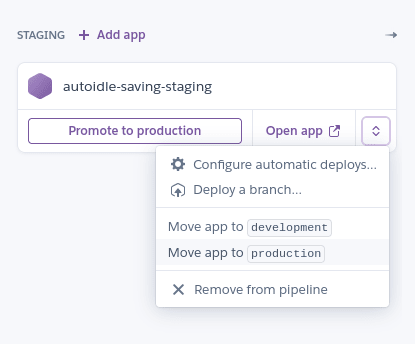
…and deploy the develop branch.
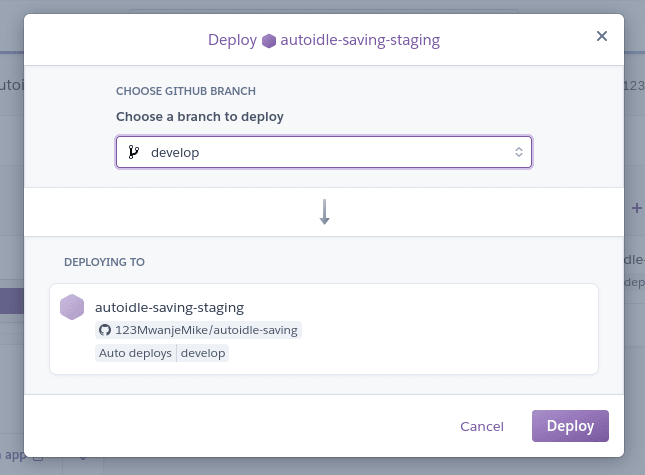
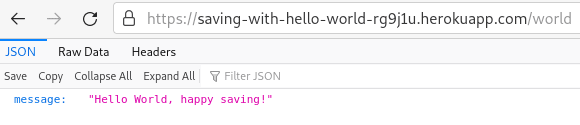
Let us try to access our staging app in the browser.
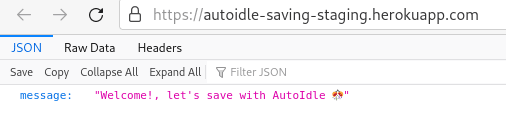
We are now going to install AutoIdle on the staging app so that it is automatically put to sleep. So if you already downloaded and installed Heroku CLI on your computer, go to your terminal and login.
$ heroku login
Next, we shall add our staging app's git repository to the local repository. To get a Heroku app's git URL, select the app and go to its Settings tab. You should see the Heroku git URL listed under the app's information.
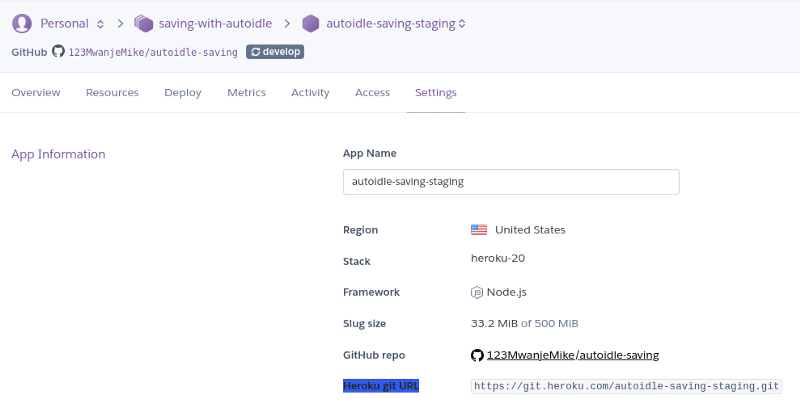
Copy the link and add it as a remote repository
$ git remote add staging-app https://git.heroku.com/autoidle-saving-staging.git
$ git remote -v
You should see a list of your remote repositories in the terminal.

Now we shall add AutoIdle to our application.
$ heroku addons:create autoidle

We shall also add AutoIdle to our review apps. So, create a new branch heroku-config and add an app.json file, a manifest format for describing Heroku web apps.
$ git checkout -b heroku-config
the app.json has the content below
{
   "environments": {
      "review": {
         "addons": ["autoidle:hobby"]
      }
   }
}
Now commit and push your changes to the GitHub repository.
$ git add app.json
$ git commit -m "AutoIdle configs for review apps"
$ git push -u origin heroku-config
Open a PR for the heroku-config branch against develop and merge it.
Now lets make a final addition to our app to have a review app and we compare the saving with AutoIdle. The endpoint is for the 'Hello World, happy saving!' message.
const express = require('express');

const app = express();

app.get('/', (req, res) => {
    res.status(200).json({ message: `Welcome!, let's save with AutoIdle 🎊`});
});

app.get('/salutation/:name', (req, res) => {
    res.status(200).json({ message: `Happy saving ${req.params.name}.`});
});

app.get('/world', (req, res) => {
    res.status(200).json({ message: 'Hello World, happy saving!'});
});

app.get('*', (req, res) => {
  res.status(404).json({ message: 'Sorry, resource not found.' });
});

const port = process.env.PORT || 3000;
app.listen(port, () => console.log(`Listening on port ${port}`));
Commit and push your changes.
$ git commit -am "hello-world"
$ git push -u origin hello-world
Open a PR for hello-world against develop and we should have a new review app for that.
Now let's observe the saving on the AutoIdle dashboard. In your terminal, run
$ heroku addons:open autoidle
You will be taken to the browser and presented with the screen below.
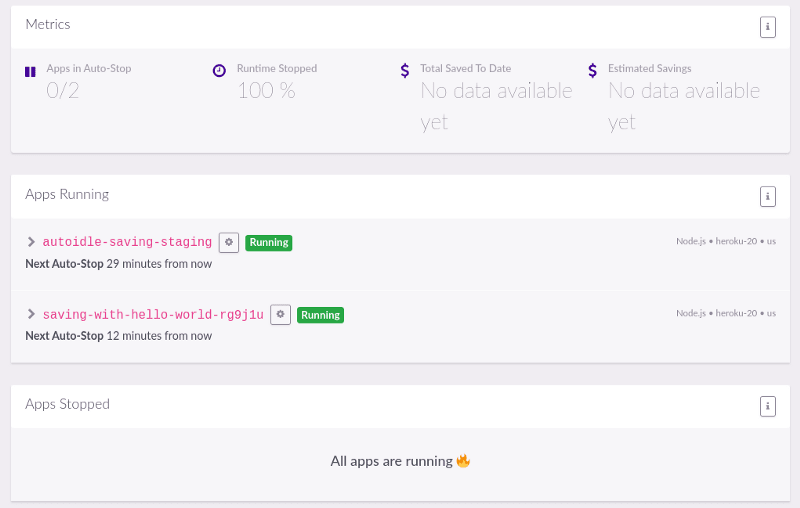
We can see that all our apps are running and we don't have any available saving data, so shall check again after some time has passed.
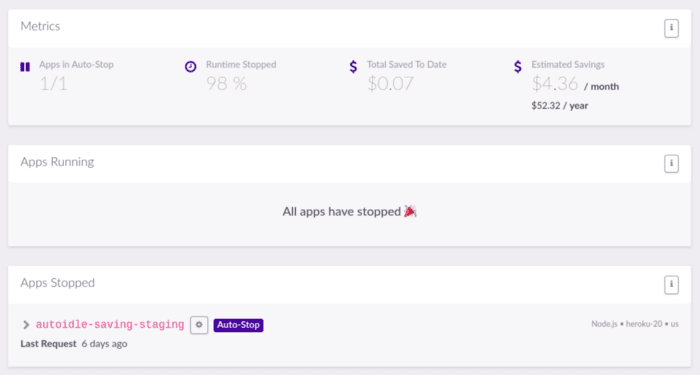
We can see that both our staging and review applications were automatically stopped without us having to click any button.
Conclusion
With cloud computing, every extra second your application is running counts and you want to be as lean as possible. In this tutorial, we only used AutoIdle on two applications, but imagine how much you could save with a large application with multiple contributors and new PRs created by the minute, each with a new review app. The cost of having apps running while not actively in use can be unnecessarily large and overwhelming. I hope AutoIdle is a tool you and your organization can leverage to reduce costs.
Till next time, Happy saving!
This article was originally published on Dev.to